ILLUSTRATED APP GUIDE
Meet the app.
Connect your Xcode.
From seven-step setup to Simulator and host mode. These screenshots show the running relayard 1.0 (3), with its actual signed-out and unpaired setup states.
Get started
Start with one source read
Seven steps connect account setup, project selection, Xcode, permissions and your chat. Make the first task a read of one Swift file.
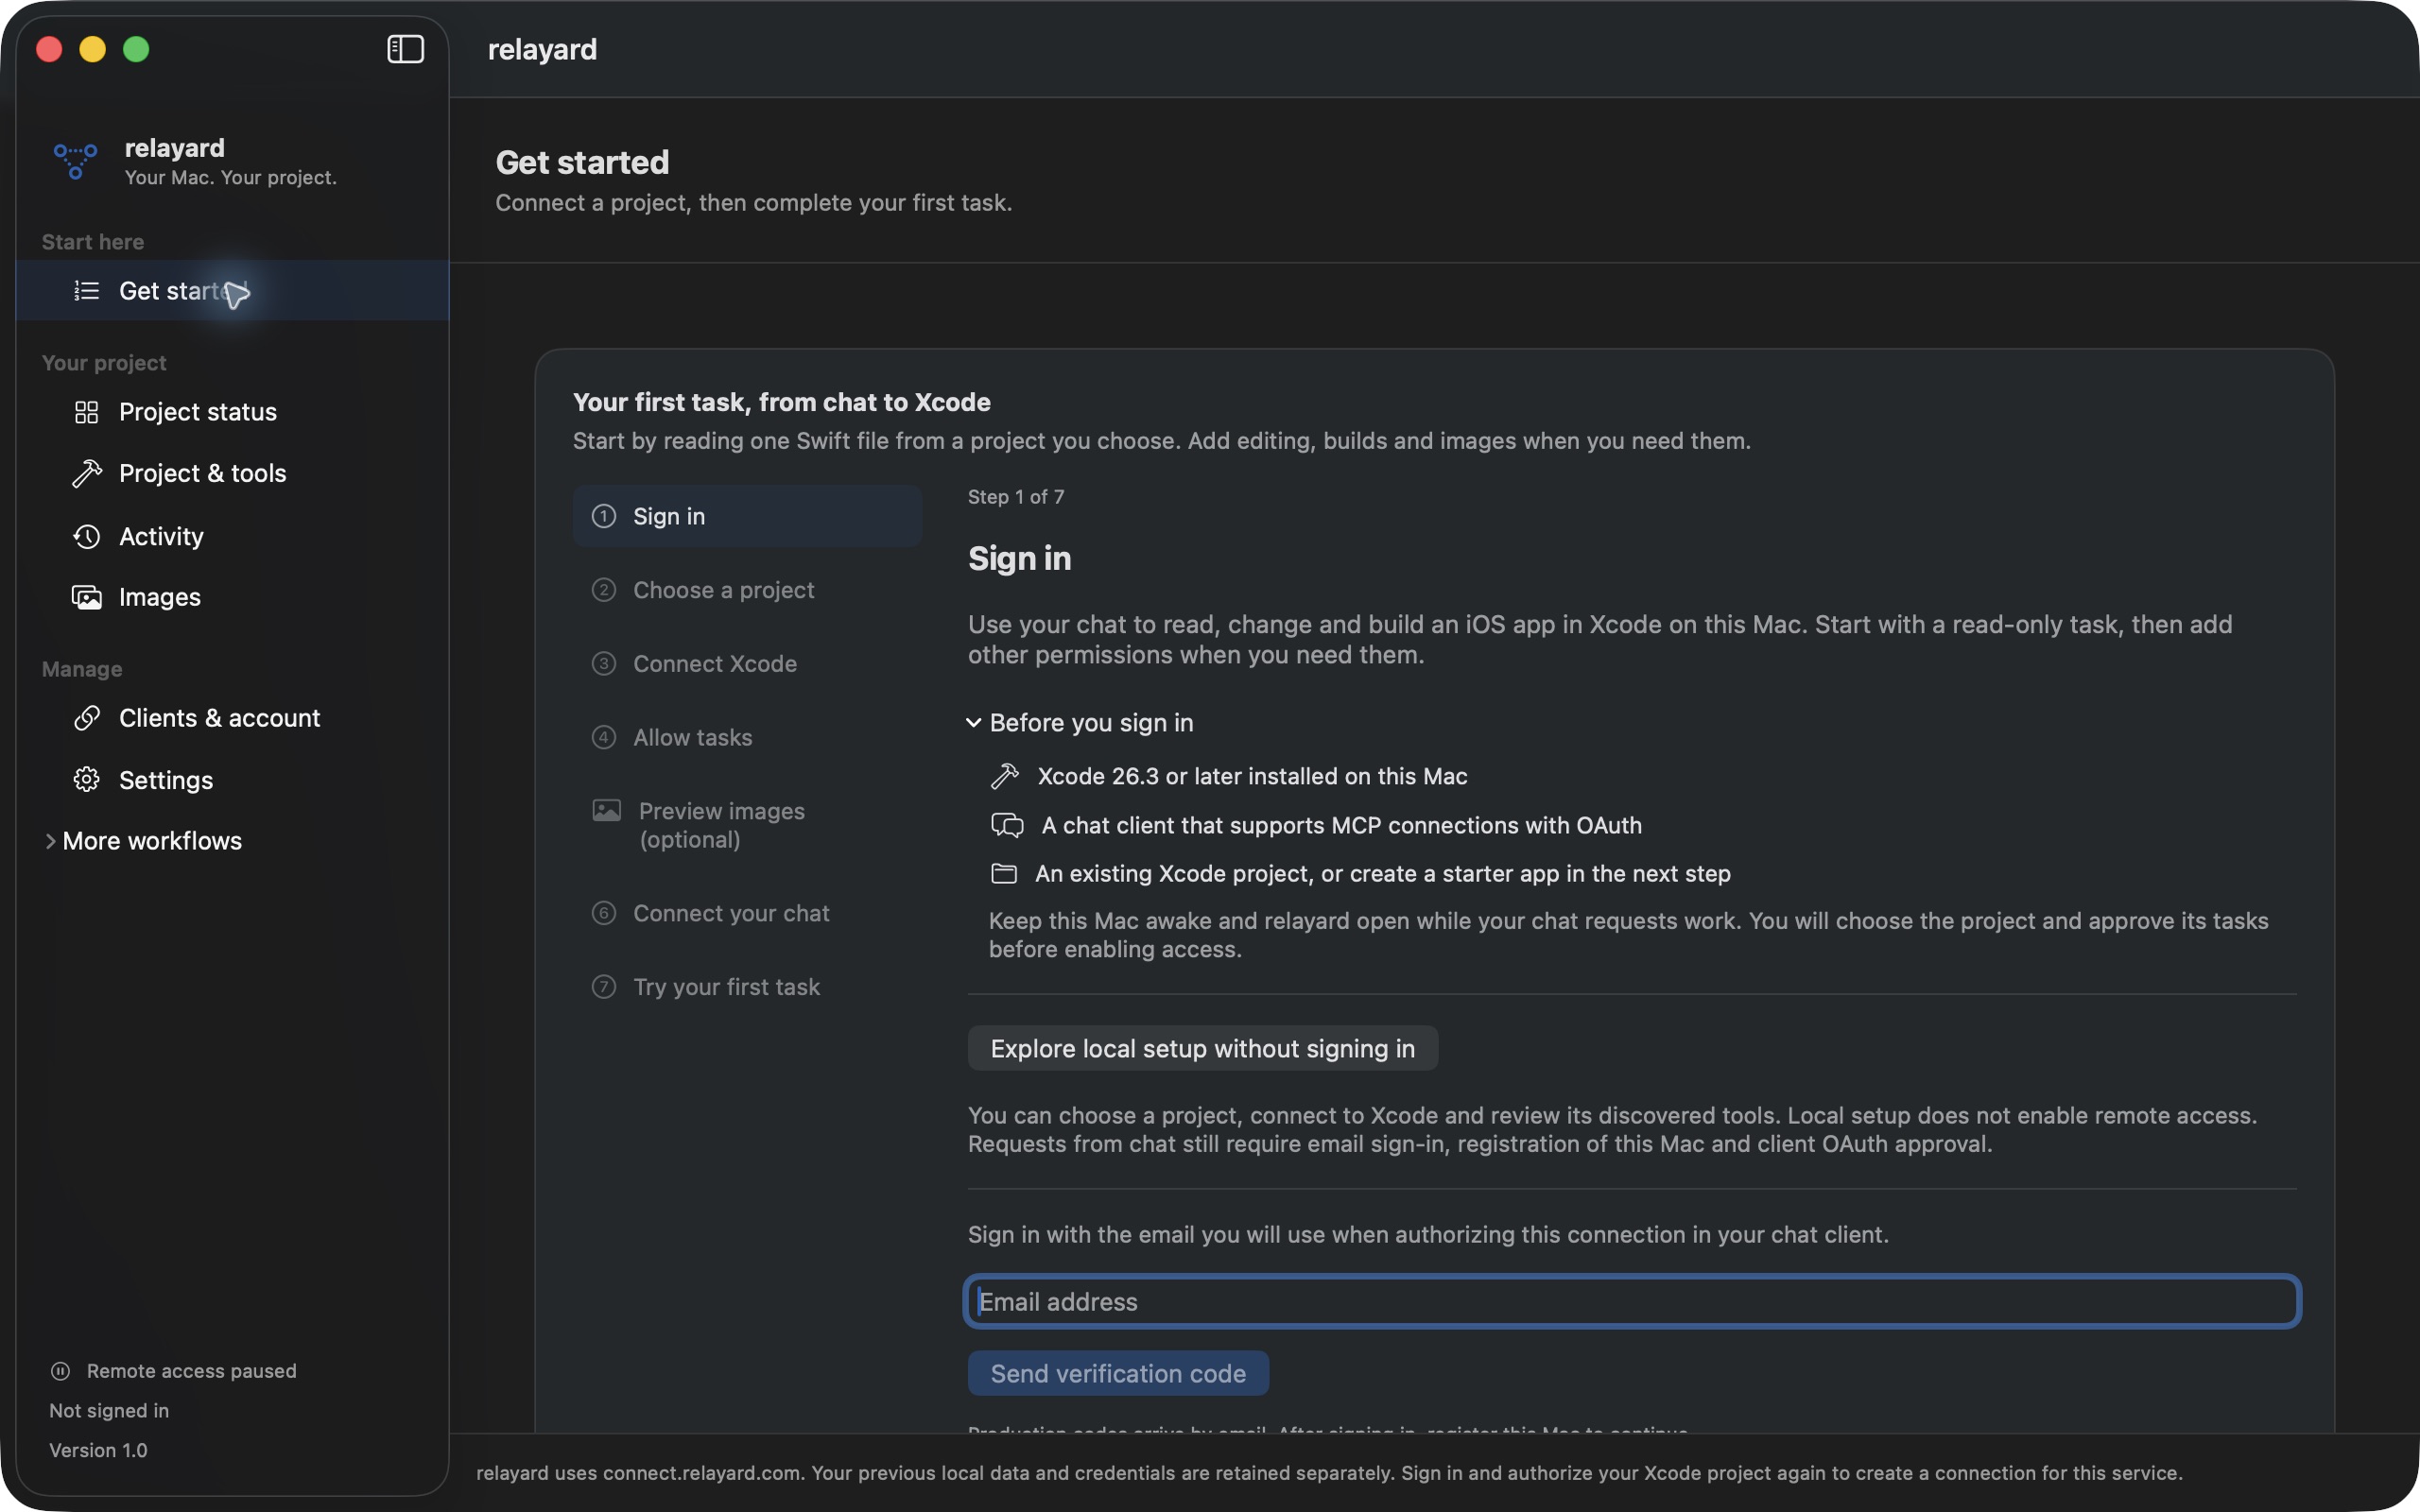
- Sign in and register this Mac in Get started. You can also explore local setup before signing in.
- Choose a project, connect Xcode and allow tasks. Preview images are optional.
- Connect the client, read a Swift file and inspect the actual returned content.
Project & tools
Your project. Its own tools.
Connect an existing project or create a SwiftUI starter. Discover the tools in your Xcode, then review the read, edit and execution capabilities you need.
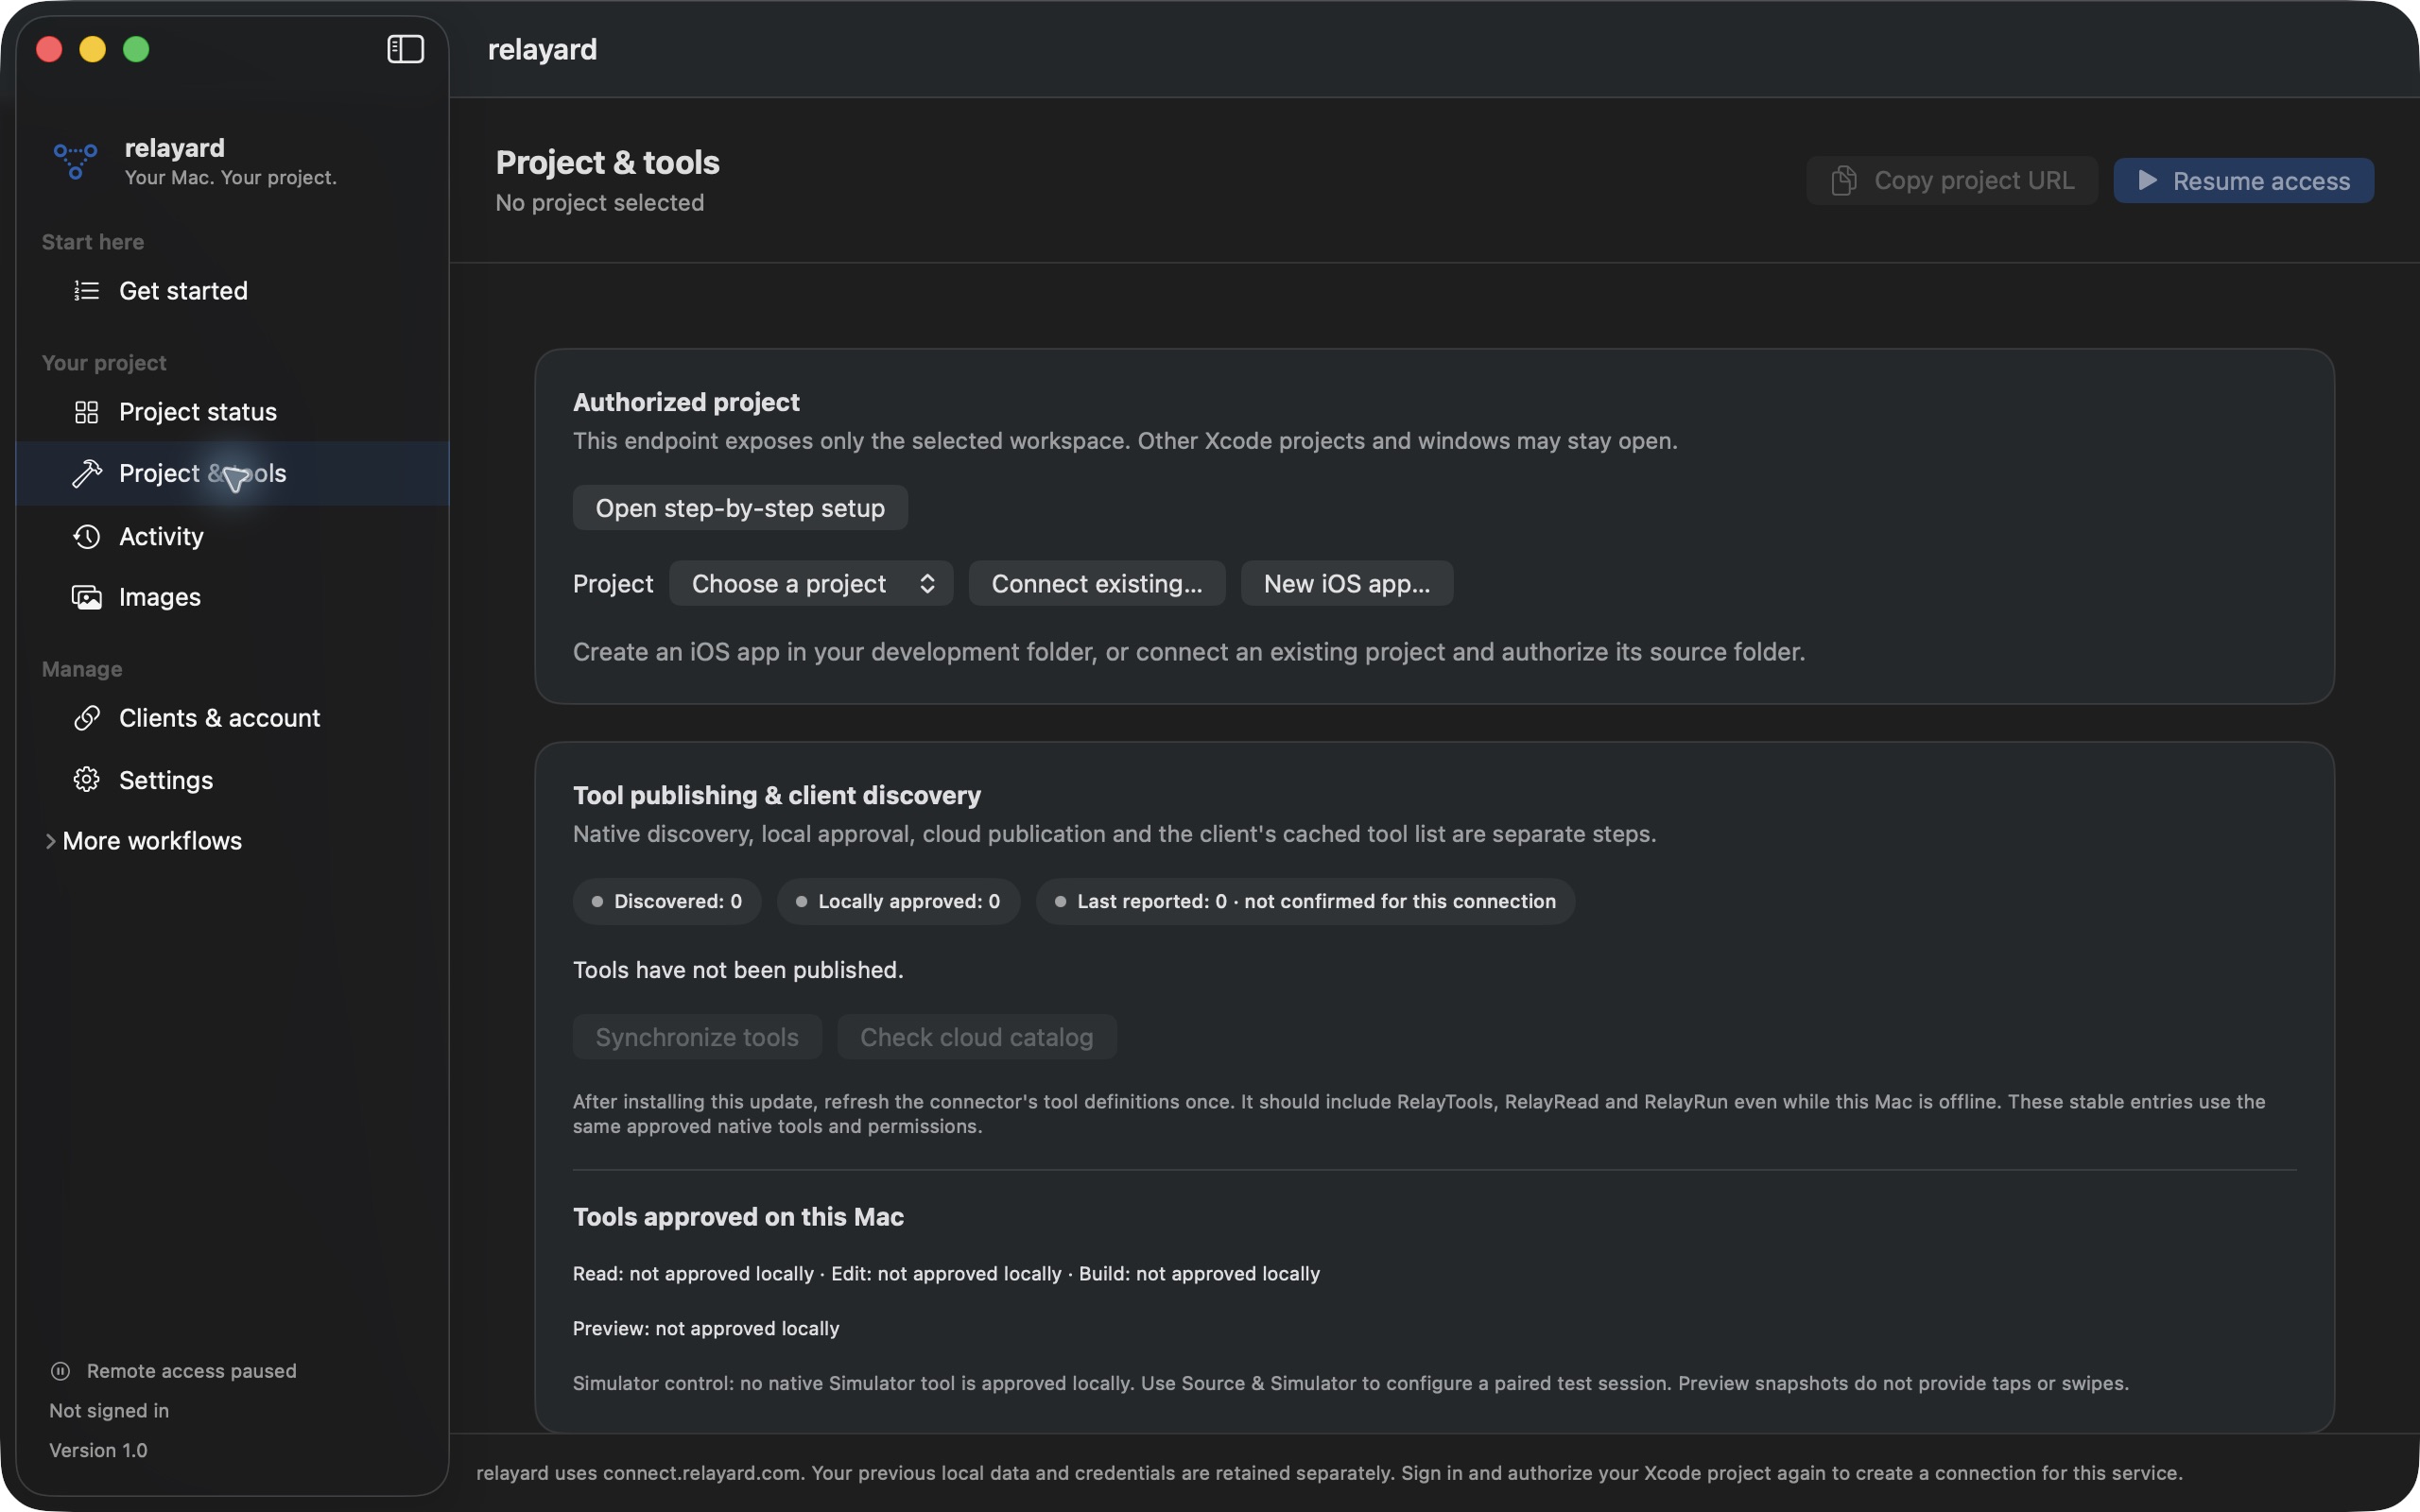
- Use Connect existing… for an existing project, or New iOS app… for a starter.
- Check discovered, locally approved and reported tool states as separate steps.
- Allow only the capabilities needed for your task. Changed Xcode tool definitions require a new review.
Clients & account
A separate approval for each client
Signing in and authorizing a client are separate steps. Use the project URL from the app for OAuth, then manage the client’s access here.
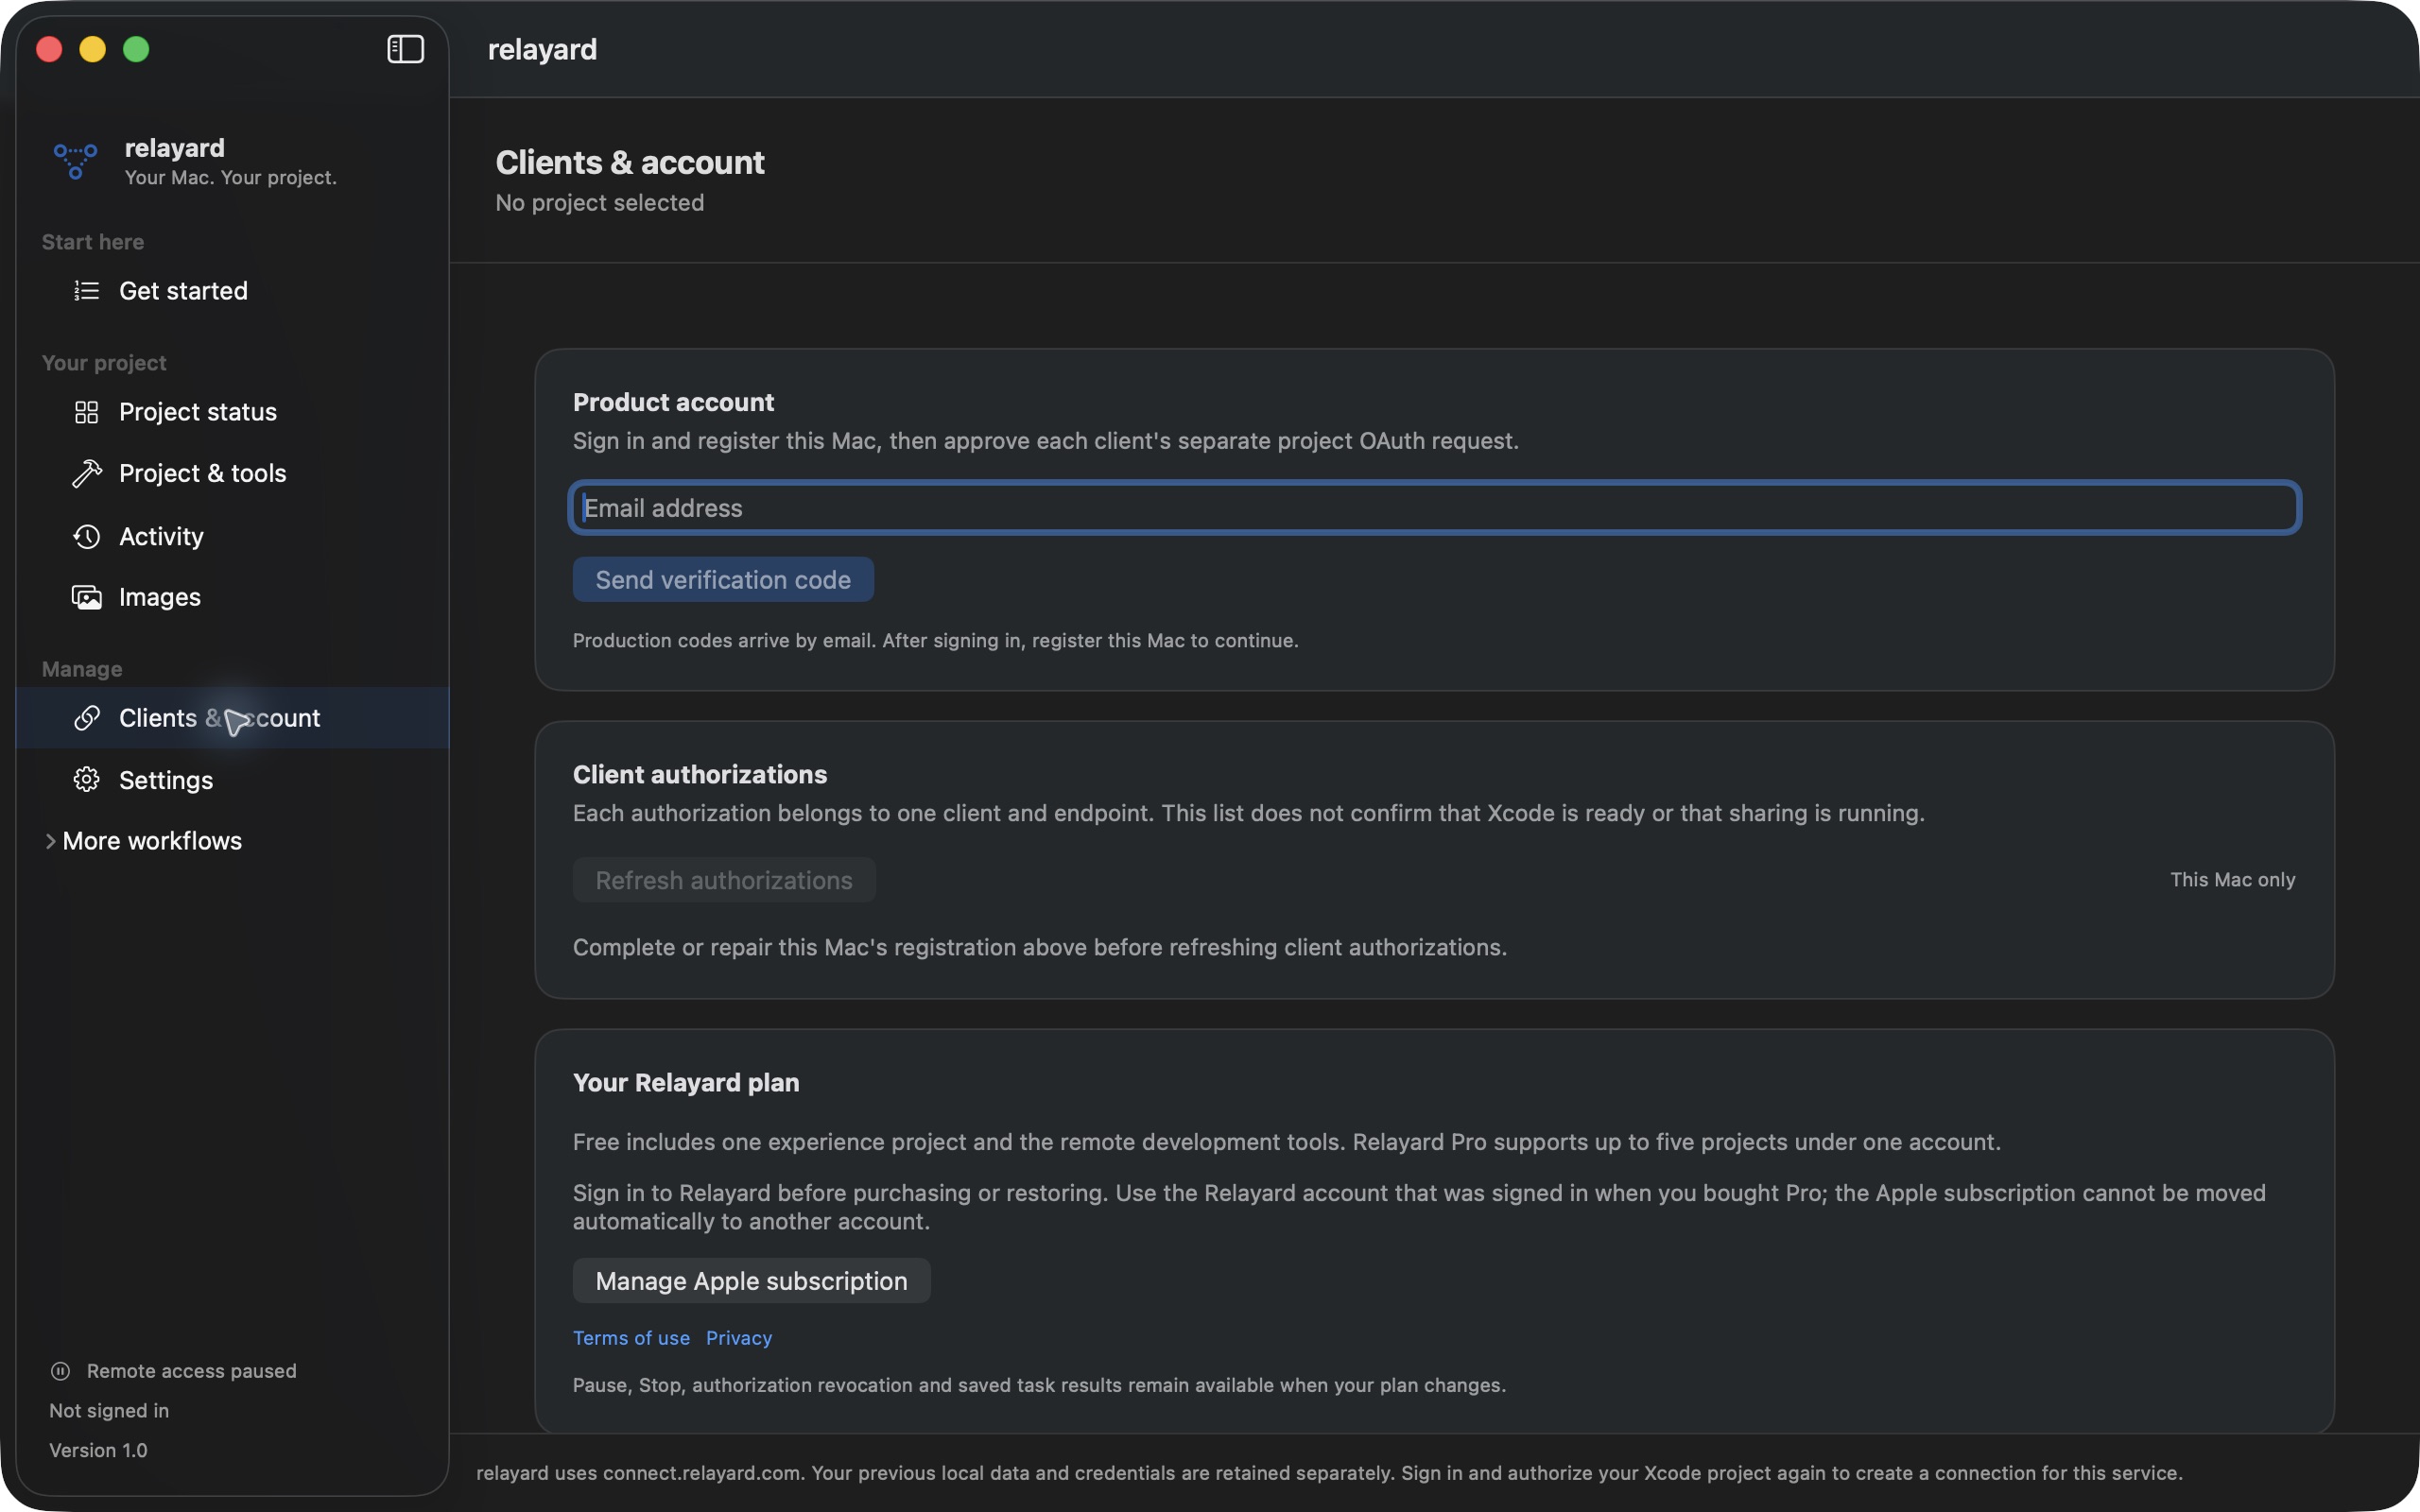
- Connect an OAuth-capable client using the complete MCP URL from the app. Review the project on the consent screen.
- Manage this Mac’s client authorizations here. Signing in does not authorize a client automatically.
- The app distinguishes one experience project on Free from up to five on Pro. Check actual in-app pricing and purchase eligibility.
Source & Simulator
Add interaction when you need it
Under More workflows, choose an app target and a specific Simulator. Review a separate development workspace and pair a session for install, launch, taps, swipes and screenshots.
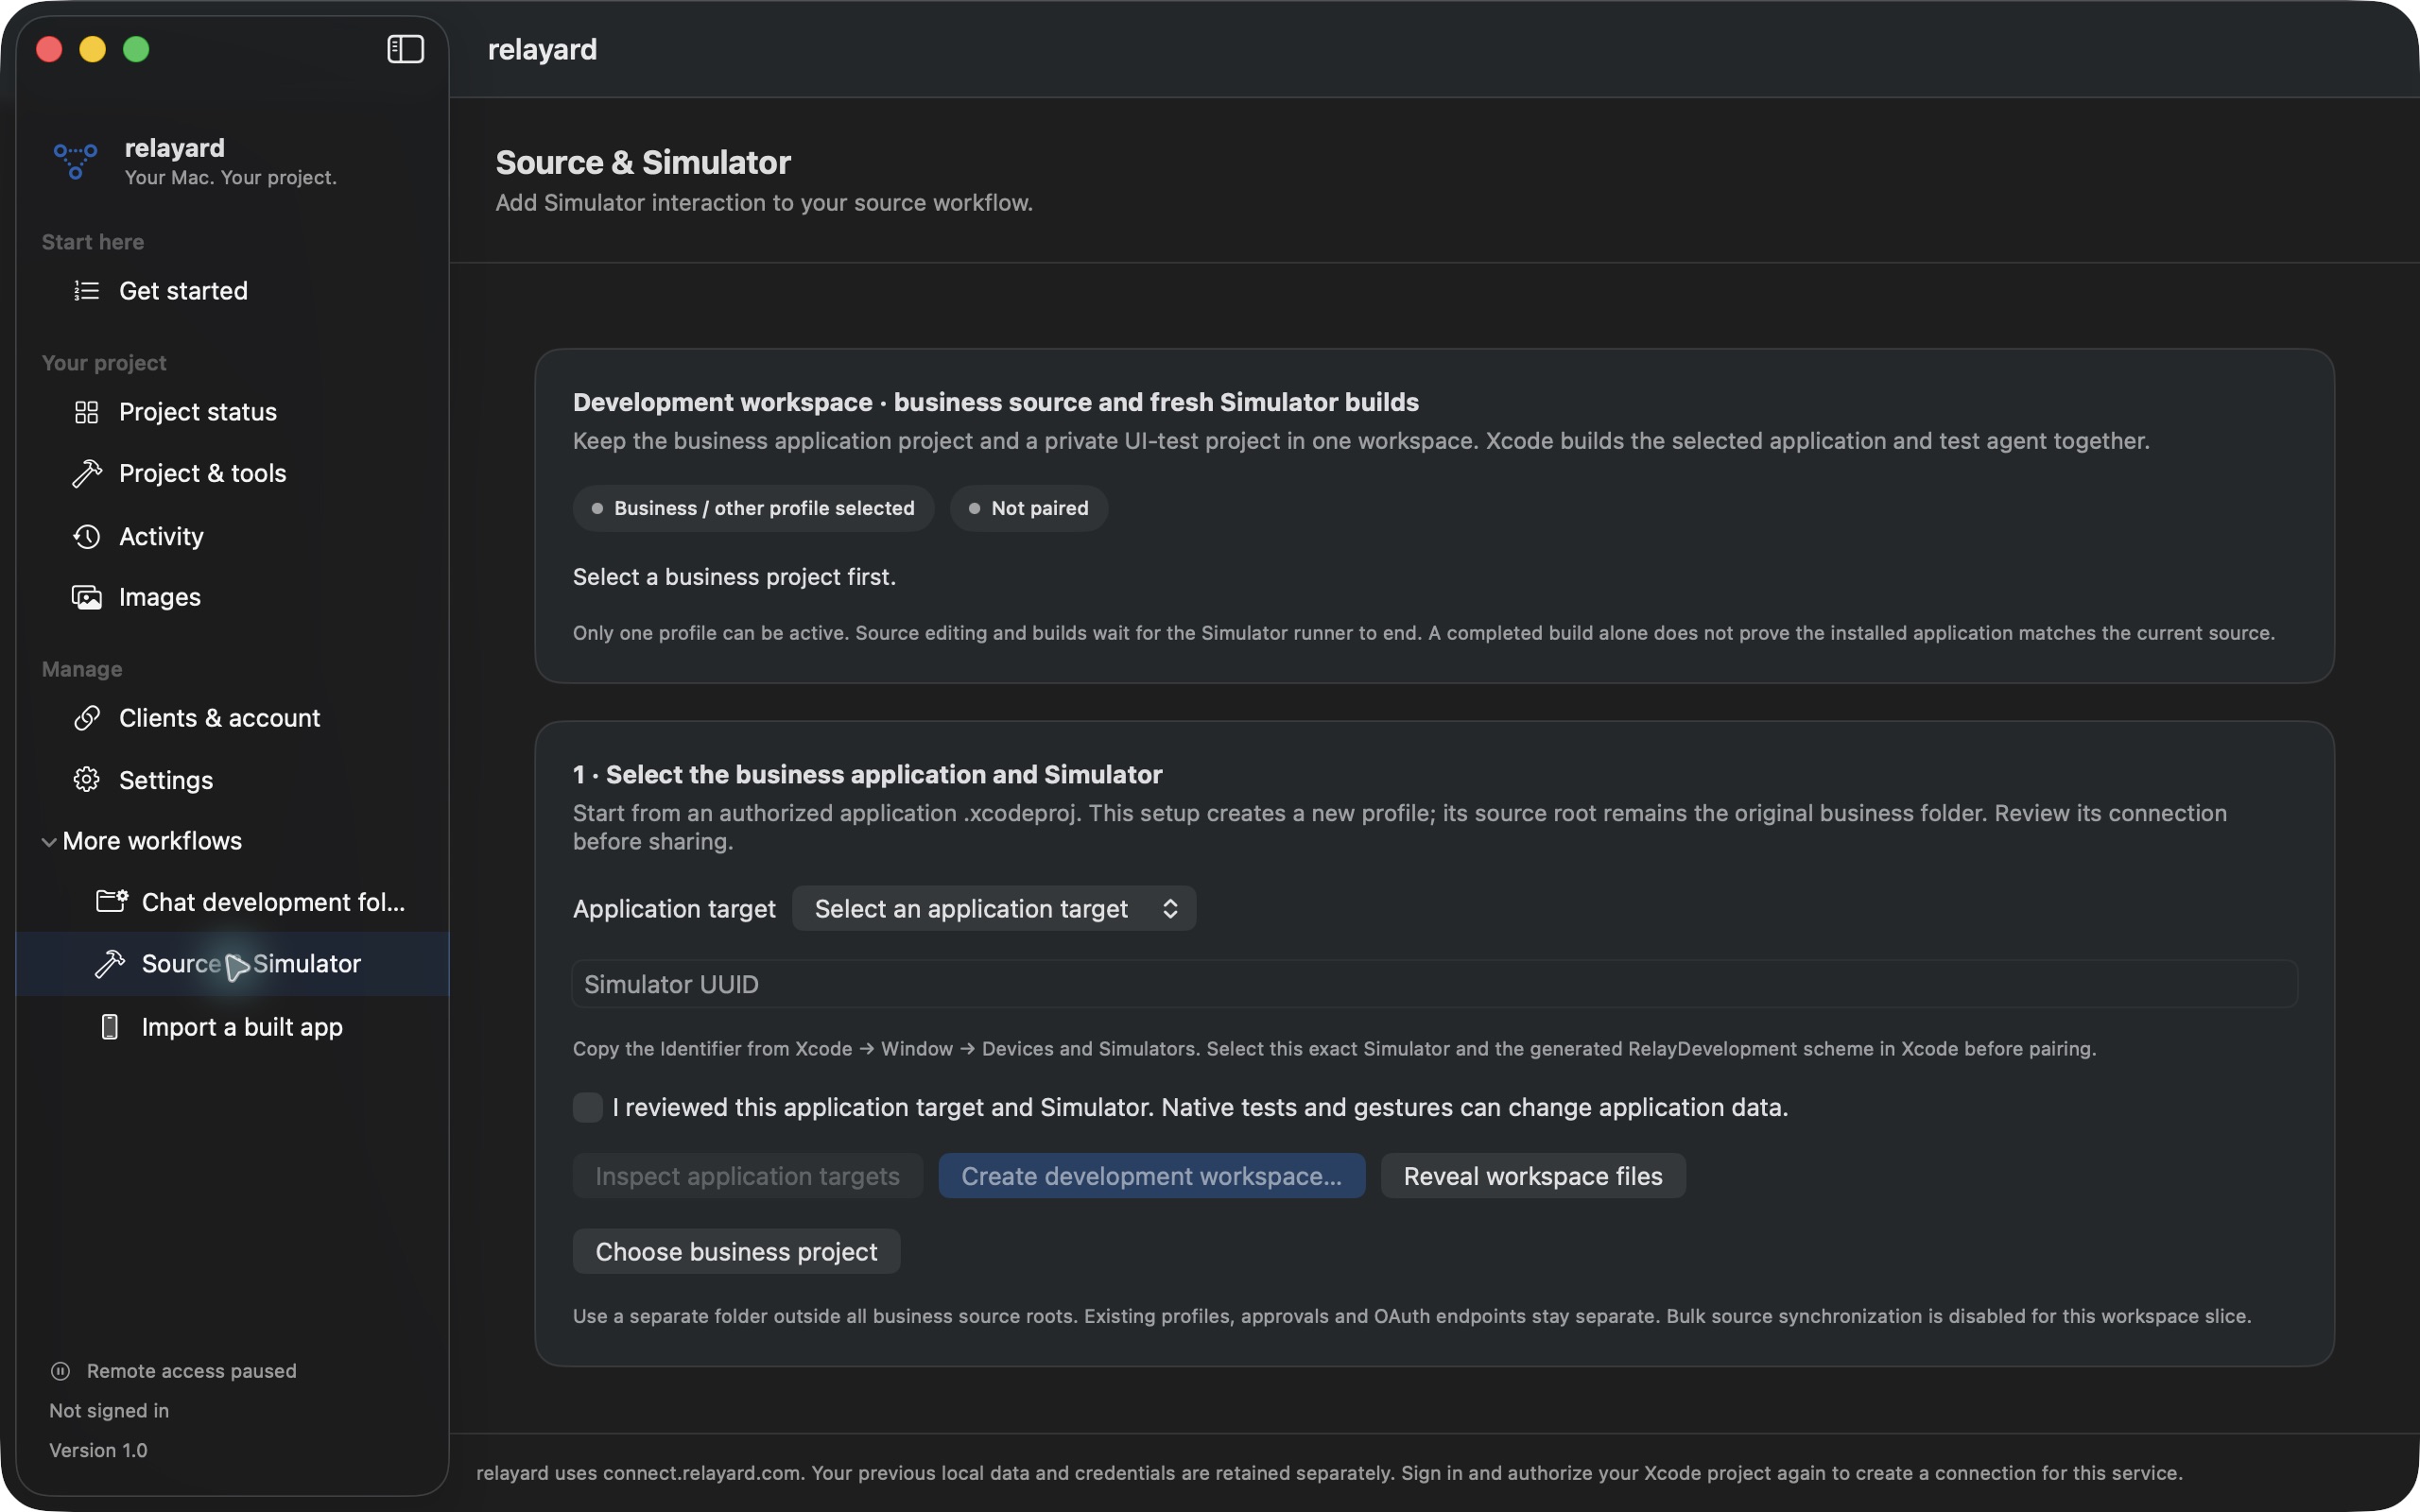
- Connect your application .xcodeproj, then open Source & Simulator under More workflows.
- Choose the app target and exact Simulator locally. Review the separate development workspace and pairing.
- Session taps, swipes and screenshots are distinct from Preview. End the Runner before returning to source edits or builds.
Settings
Keep your Mac available on power
Opt in to host mode in Settings. With power connected and remote access enabled, the display can sleep and the screen can lock. Pause remains in your control.
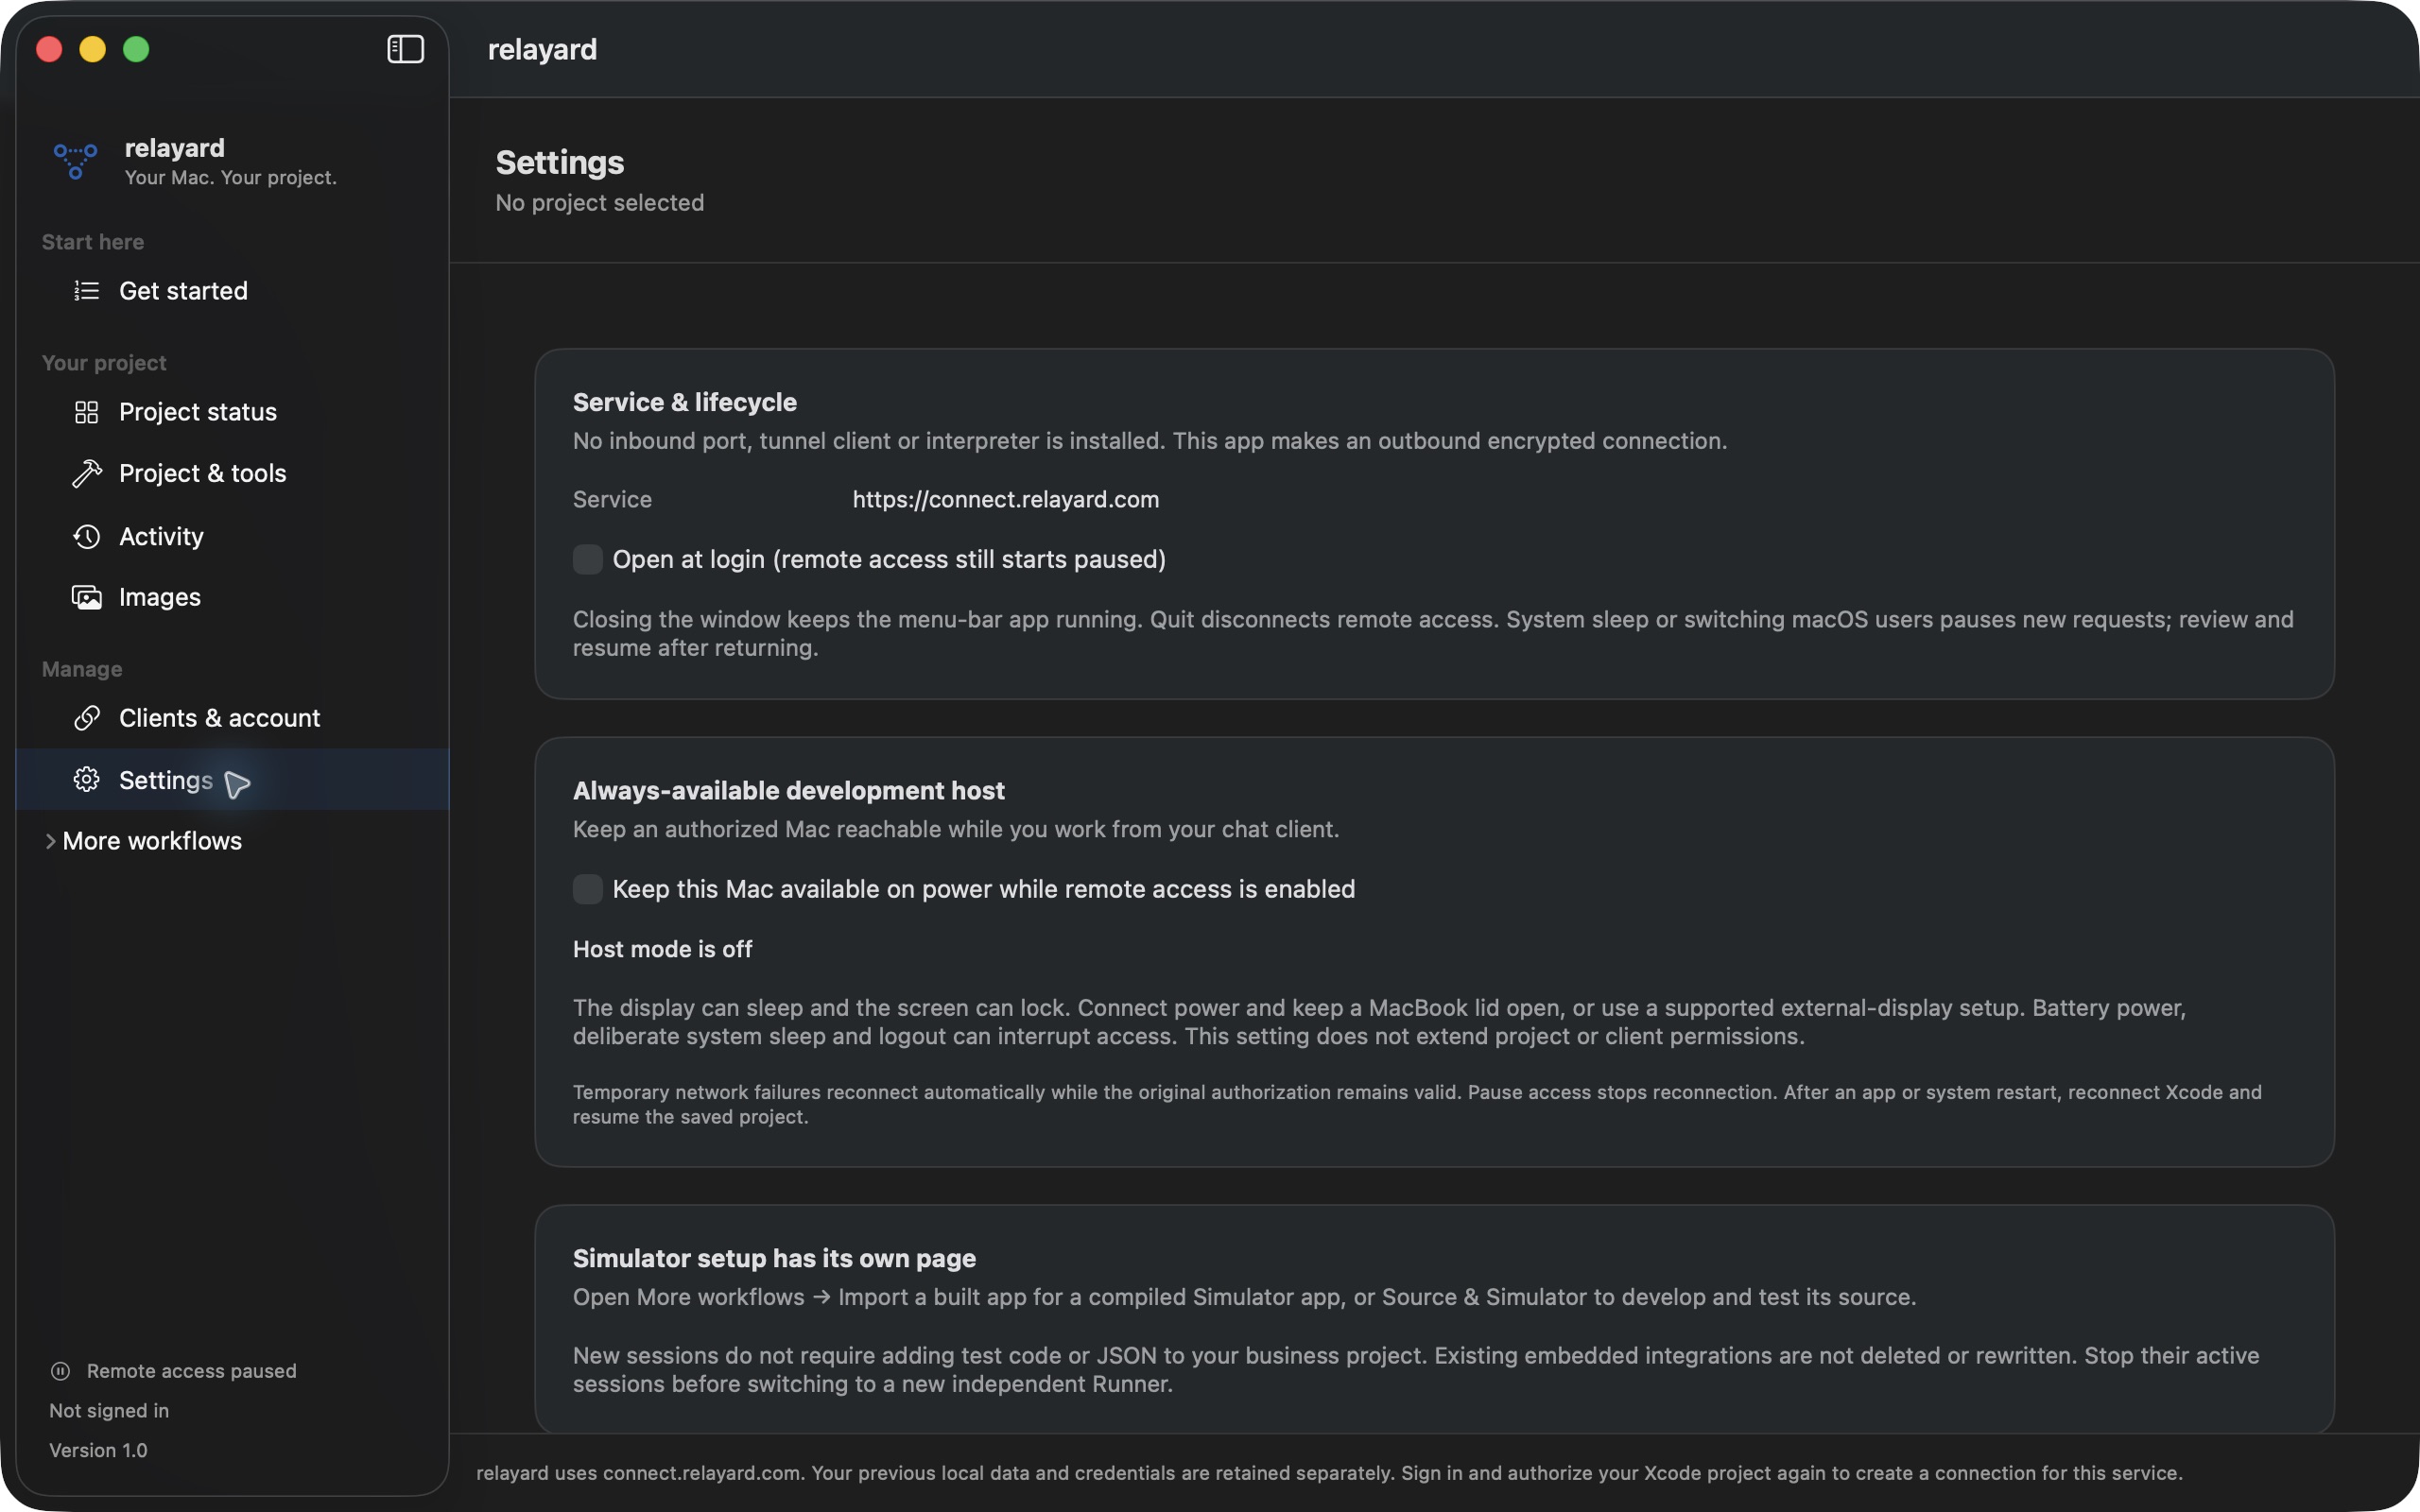
- Opt in to host mode in Settings. It applies on external power while remote access is enabled.
- The display can sleep and the screen can lock. Keep a MacBook lid open or use a supported external-display setup.
- Battery power, deliberate system sleep and logout can interrupt access. Pause stops reconnection; reconnect Xcode and resume after restarting.
REAL EXAMPLE OUTPUT
See the result.
Then take the next step.
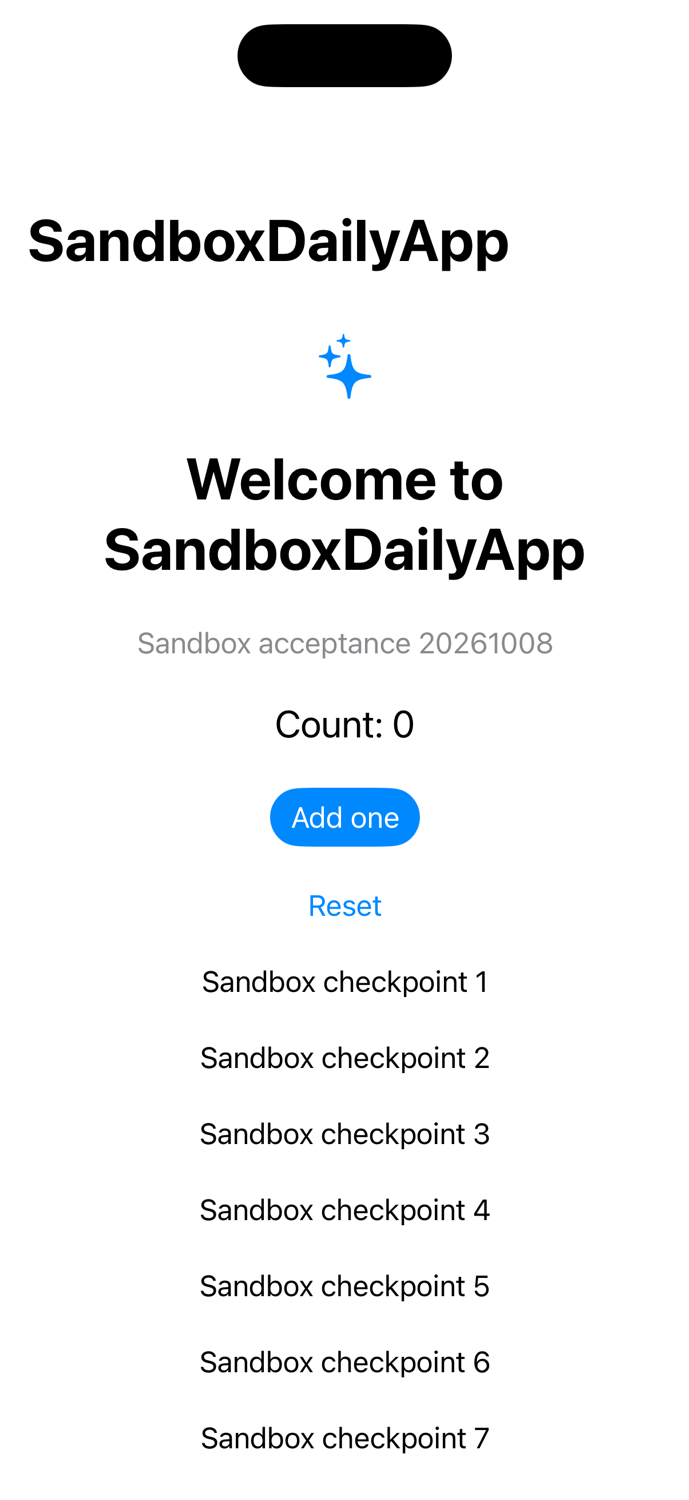
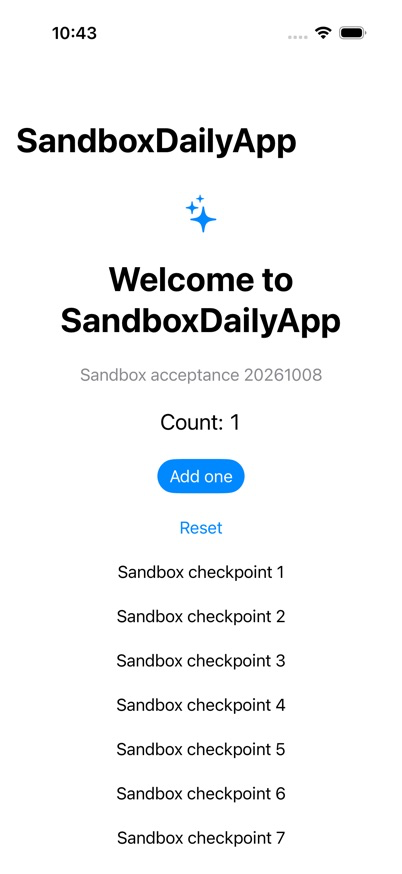
The left image is a SwiftUI preview returned by Xcode. The right image shows the example project in Simulator after a tap, with its counter at 1. Both come from real development checks.
SandboxDailyApp example · October 8, 2026. Saved Preview and Simulator images from a development session. Open the originals to inspect them; this is not a live view.